Arduino DC Motor with L298N Motor Driver
Level 7 · Level 7 — Making Things Move · 35 minutes
Drive a real motor the only way it can actually be driven: through an H-bridge, on its own battery.
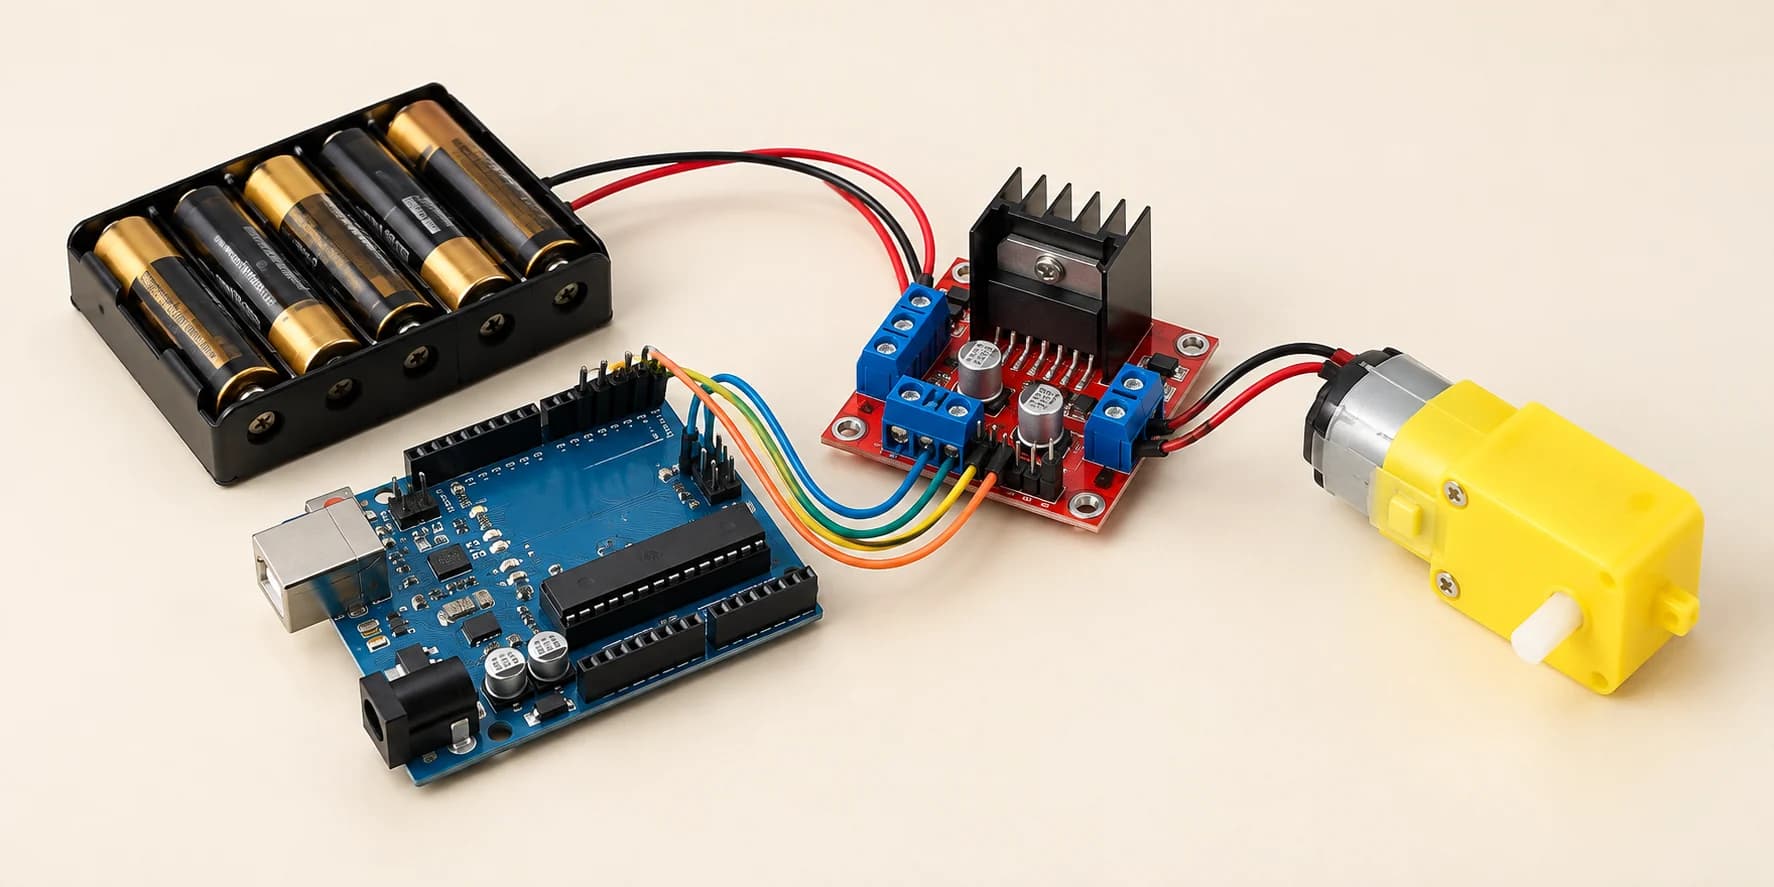
Preview the project free; a course seat is required to run and submit. No hardware kit needed.
Your project challenge
Make the motor run forward one second, stop one second, then reverse. Wire it up: - L298N direction: IN1 to D10, IN2 to D9 - L298N: ENA to D11, GND to Arduino GND - Battery: + to VS, − to the driver's GND - Motor: OUT1 and OUT2 to its terminals The sketch is written. Compile it, then find the lines that reverse the motor.
Components you’ll use
- Arduino Uno
- L298N Motor Driver
- DC Gear Motor
- Battery
What you'll build
A motor that runs forward, stops, then reverses. Until now your code lit up and beeped. Here it pushes back on the world.
Why you need a driver
- An Arduino pin supplies about
20 milliamps. A small gear motor wants several hundred, more than ten times as much. - So the pin never drives the motor. It signals the L298N, which switches the battery's power.
The key idea
Inside the L298N are two H-bridges. Each is four switches that push current through a motor either way round. That is all "reverse" is.
IN1 is D10, IN2 is D9, ENA is D11. The battery's + goes to VS.
- Forward:
IN1 HIGH, IN2 LOW - Reverse:
IN1 LOW, IN2 HIGH - Stop: both the same.
LOW LOWorHIGH HIGHboth brake, not double speed. - Channel A on:
ENA HIGH
⚠ Watch out
Skip the driver's GND to the Arduino's GND and your HIGH means nothing to the driver. It is the single most common reason a motor sits still.
Wire the motor straight to a pin and it simply will not turn, and the simulator says why. On real hardware that mistake does not politely fail. It destroys a board.
The interactive editor includes the wiring guide, code editor and simulation controls.