Arduino Digital Clock with DS1302 RTC and 4-Digit 7-Segment Display
Level 50 · What Time Is It · 30 minutes
A digital clock: read the time from a clock chip and show it on a 4-digit display.
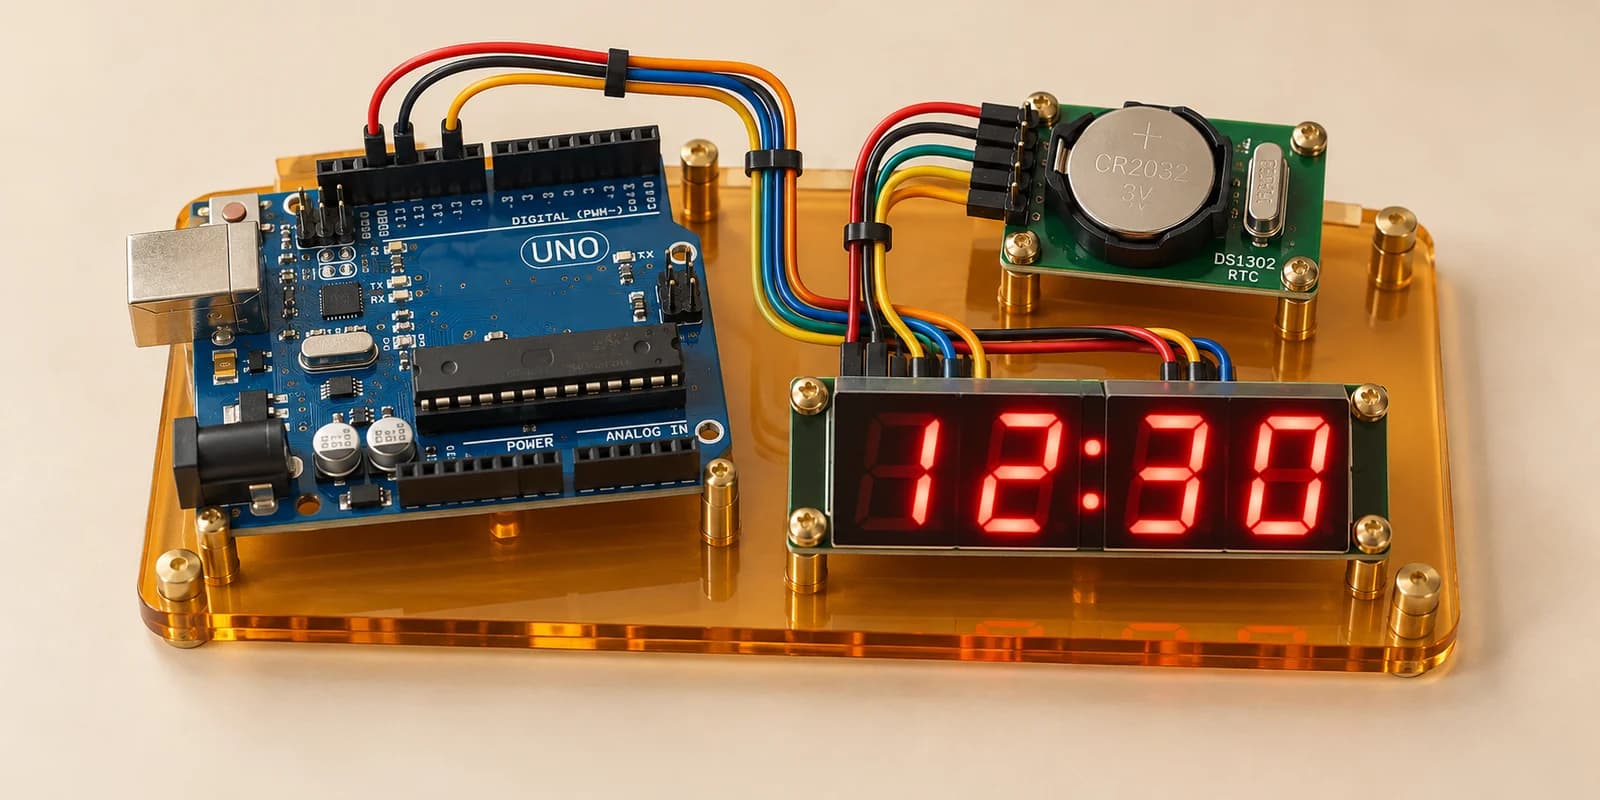
Preview the project free; a course seat is required to run and submit. No hardware kit needed.
Your project challenge
Build a digital clock. Wire it up: - Clock module: VCC 5V, GND GND, CLK A0, DAT A1, RST A2 - Display: a to g and the dot on D2 to D9, digits 1 to 4 on D10 to D13 Read the time from the chip and show it as HHMM, in 24-hour time. Blink the colon once a second.
Components you’ll use
- Arduino Uno
- DS1302 Real-Time Clock
- 4-Digit 7-Segment Display
What you’ll build
A digital clock. It reads the time from a clock chip and shows the hours and minutes on a 4-digit display.
How it works
- The DS1302 chip counts seconds by itself, from its own tiny crystal.
- Its coin cell keeps it counting while the Arduino is off. So the time is already set: do not set it again.
- The Arduino asks for the time over three wires: CLK, DAT and RST.
- The display lights one digit at a time, so fast that you see all four.
The key idea
Ask the chip every time round loop(). Never count the minutes yourself.
RtcDateTime now = Rtc.GetDateTime();
Then show now.Hour() and now.Minute() in 24-hour time: 1:05 in the afternoon is 1305.
⚠ Watch out
A clock that counts minutes with millis() changes at the wrong moment. The display has no colon, so the dot after digit 2 is the colon.
The interactive editor includes the wiring guide, code editor and simulation controls.