Arduino Electronic Voting Machine with Push Buttons and LCD
Level 55 · Vote! · 35 minutes
A school-election voting machine: one press is one vote, and the RESULT button names the winner or a tie.
Preview the project free; a course seat is required to run and submit. No hardware kit needed.
Your project challenge
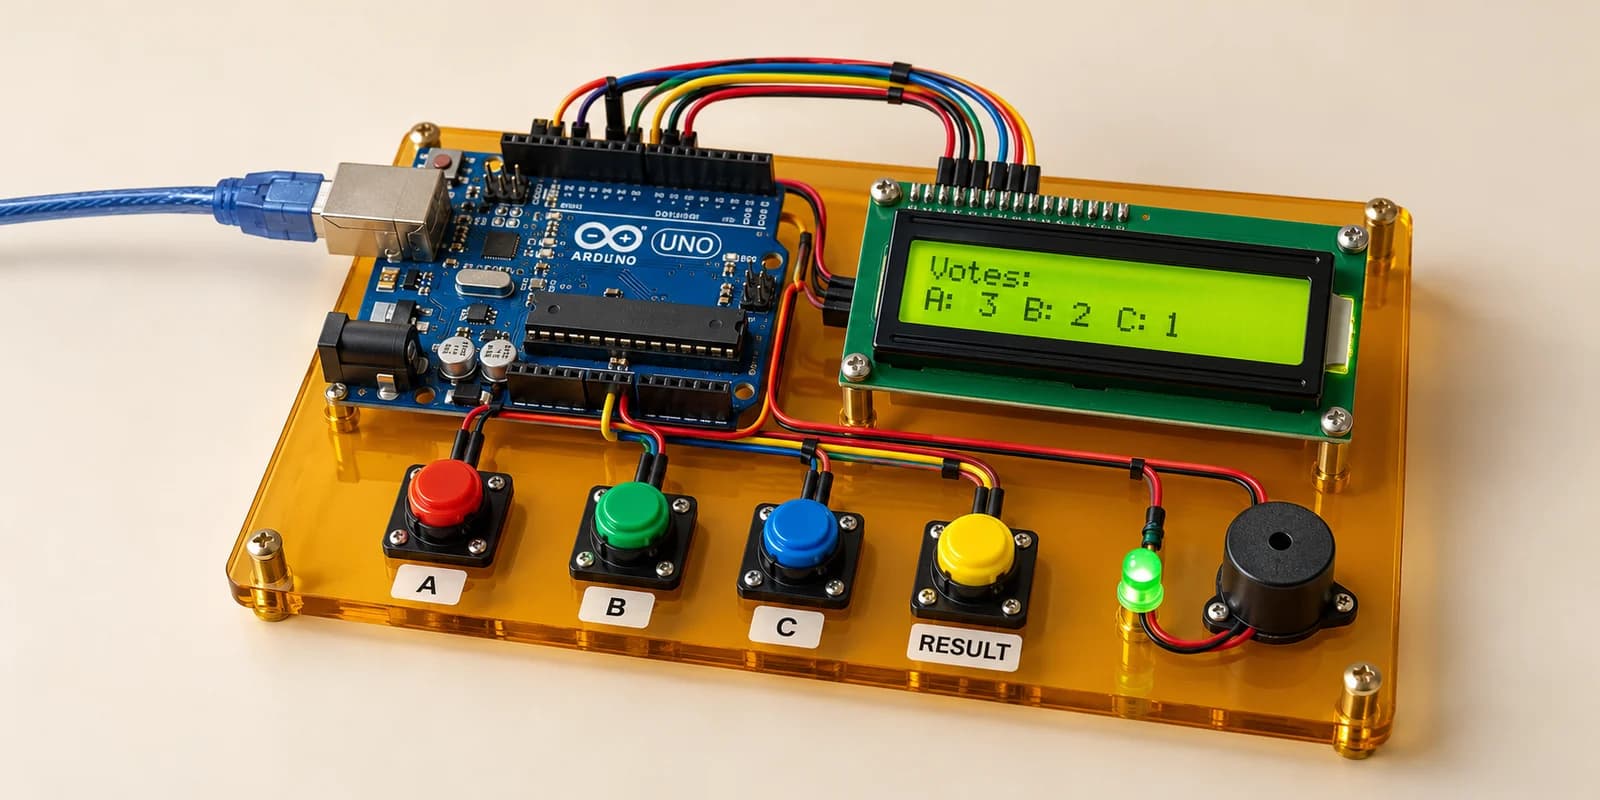
One press, one vote. - LCD: RS D12, E D11, D4-D7 to D5/D4/D3/D2, RW and V0 to GND - Buttons: A D6, B D7, C D8, RESULT D9; pin2 to GND - Buzzer pin1 D10, LED anode D13; other legs to GND Show Vote now. A vote: one beep, LED on, Thank you for 1 s. RESULT: counts, then Winner: or Tie.
Components you’ll use
- Arduino Uno
- LCD 16x2 Display
- Pushbutton × 4
- Piezo Buzzer
- LED (Light-Emitting Diode)
What you’ll build
The voting machine from a school election. Press A, B or C to vote. Press RESULT to see who won.
How it works
- Each button reads
LOWwhile it is down, withINPUT_PULLUP. - A vote adds one to that candidate, beeps once, lights the green LED and shows Thank you.
- RESULT shows every count on the top line, and the winner or
Tiebelow.
The key idea
One press must be one vote, even if a voter holds the button or presses it twice. Count the moment a button goes down, after it has held still for 20 ms. Then ignore every button for 1 second. A real election machine locks the same way: one person, one vote.
⚠ Watch out
Every button bounces. A sketch that counts each change counts a held button twice, when its release bounces. When two candidates share the most votes, say Tie, not the first one you found.
Make it yours: add a fourth candidate, or a secret button order that closes the poll.
The interactive editor includes the wiring guide, code editor and simulation controls.