Arduino IR Remote Home Automation with Relays and LCD
Level 49 · Remote Control Home · 30 minutes
Run a light and a fan from an infrared remote, with an all-off key and a screen that shows each one.
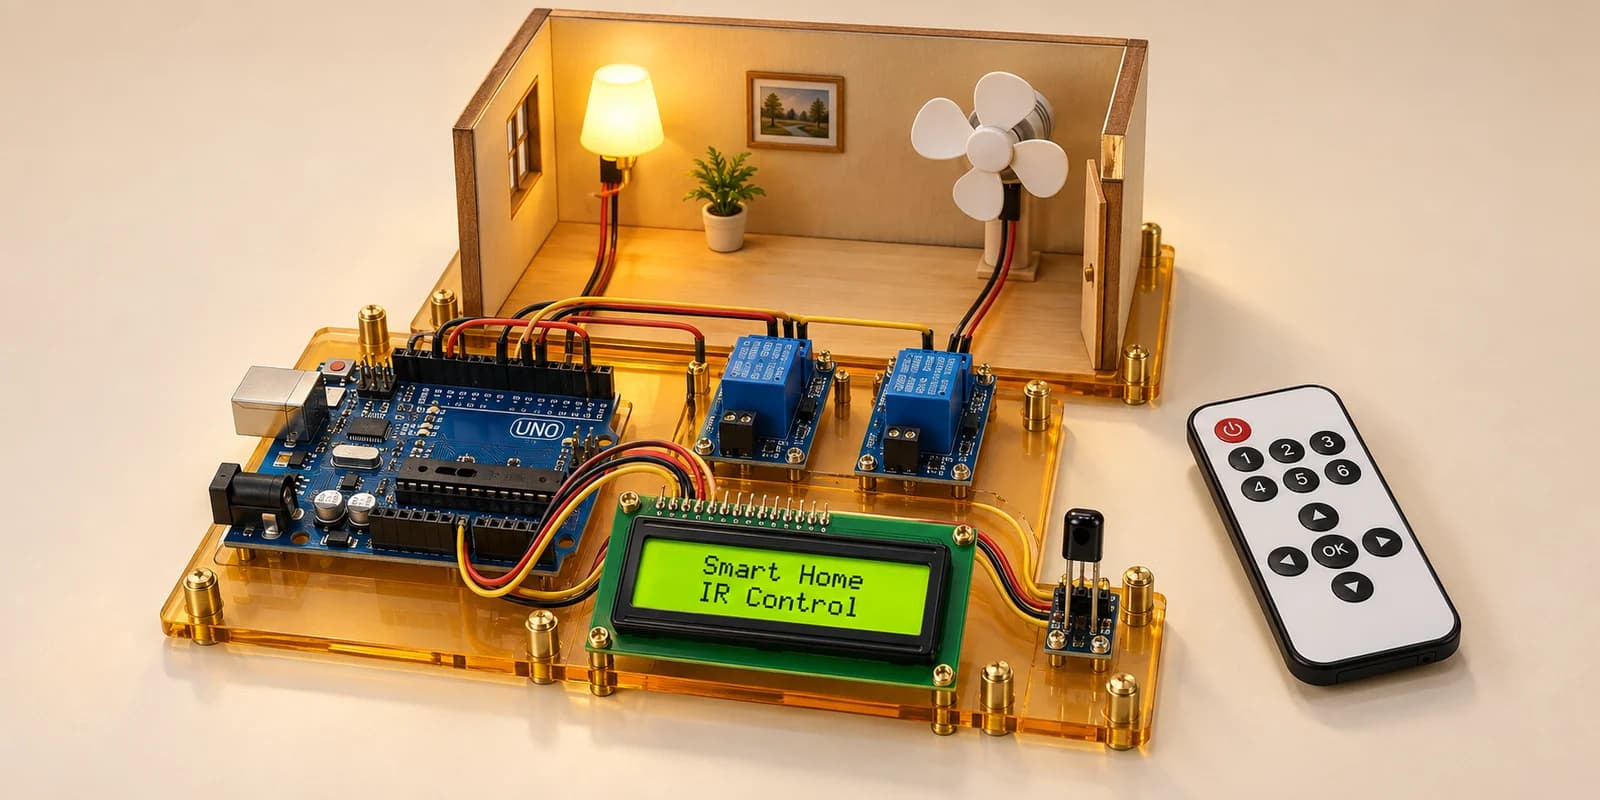
Preview the project free; a course seat is required to run and submit. No hardware kit needed.
Your project challenge
IR remote home: key 1 switches the light, key 2 the fan, key 0 turns both off. Wire it up: - IR receiver: OUT D8, GND GND, VCC 5V - Relays: light IN D7, fan IN D6, both VCC 5V, GND GND - LCD: the usual twelve wires Show ON or OFF: light on top, fan below.
Components you’ll use
- Arduino Uno
- IR Receiver (VS1838B)
- IR Remote (Car MP3, 21 keys)
- Relay Module × 2
- LCD 16x2 Display
What you’ll build
A home you run from the sofa. Key 1 on the remote switches the light, key 2 switches the fan, and key 0 turns everything off. The screen shows what each one is doing.
How it works
- Each key sends its own code. Key 1 is
0xFF30CF, key 2 is0xFF18E7and key 0 is0xFF6897. - While a key is held, the remote also sends
0xFFFFFFFF, “still held”. It is not a new press. - Each relay is active low:
LOWswitches its load on. The checks watch each relay.
The key idea
Keep one true/false for each load. Keys 1 and 2 flip their own. Key 0 sets both to false.
lightOn = false; fanOn = false;
After every change, set both relays and redraw both rows.
⚠ Watch out
Do not flip on key 0. Then a light that was already off comes back on. And do not forget the screen: it must change when a relay does.
The interactive editor includes the wiring guide, code editor and simulation controls.