Arduino IR Remote Control LED with IR Receiver
Level 48 · Press from Across the Room · 30 minutes
Switch an LED on and off from across the room with the PLAY key of an infrared remote.
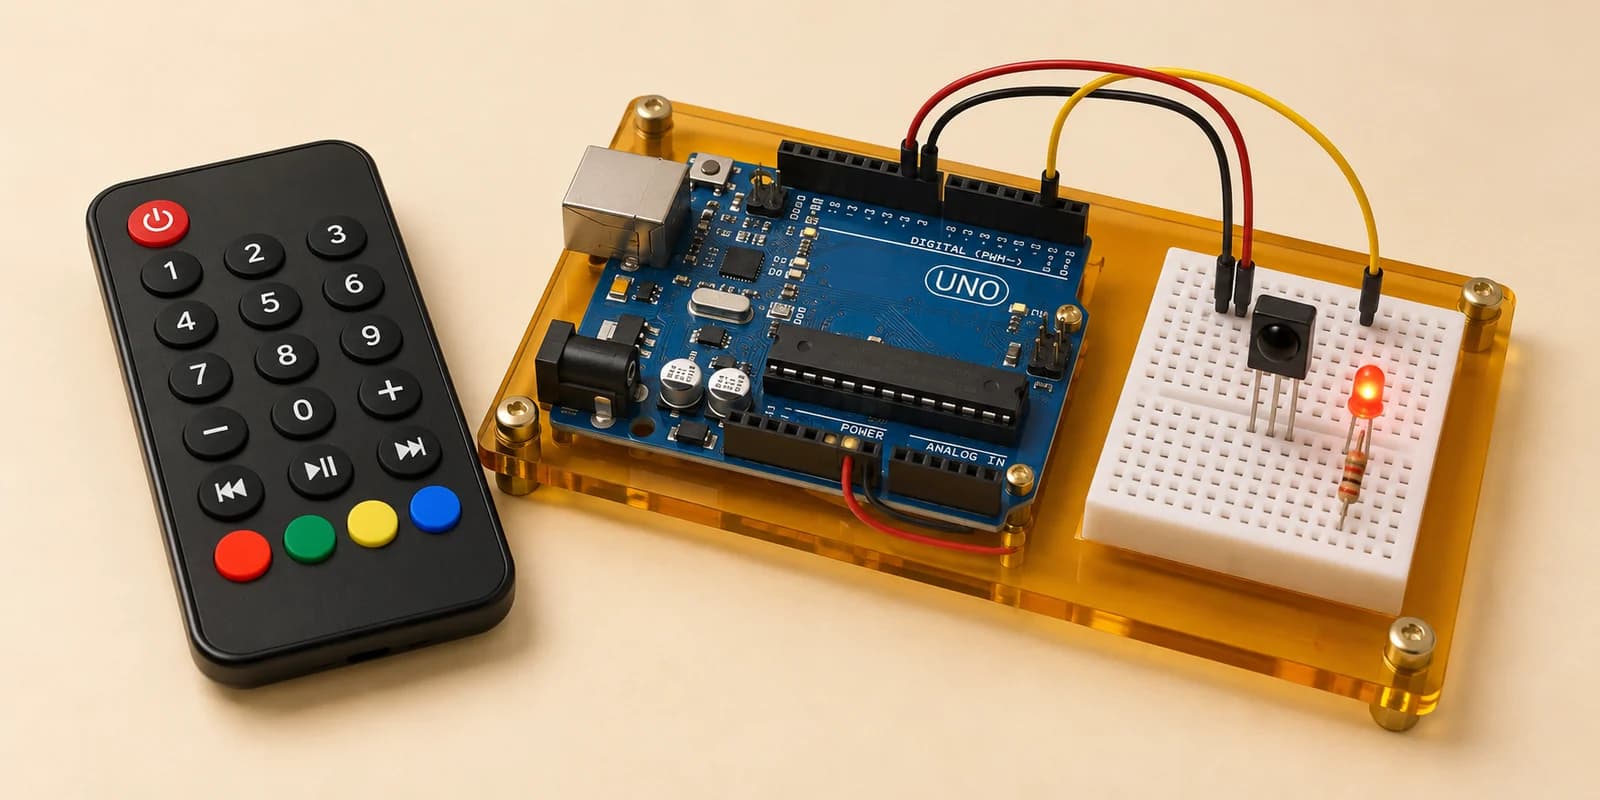
Preview the project free; a course seat is required to run and submit. No hardware kit needed.
Your project challenge
Switch an LED with the PLAY key on the IR remote: press once for on, press again for off. Wire it up: - IR receiver: OUT to D11, GND to GND, VCC to 5V - LED: long leg to D7, short leg to GND Other keys do nothing. Holding PLAY counts as one press.
Components you’ll use
- Arduino Uno
- IR Receiver (VS1838B)
- IR Remote (Car MP3, 21 keys)
- LED (Light-Emitting Diode)
What you’ll build
A light you switch from across the room. Press PLAY on the remote and the LED comes on. Press PLAY again and it goes off.
How it works
- The remote flashes invisible infrared light. Every key sends its own code number.
- The receiver turns the light into pulses. The IRremote library turns the pulses back into the number, in
results.value. - PLAY is
0xFFC23D. While you hold a key down, the remote also sends0xFFFFFFFFagain and again. That code means “still held”.
The key idea
Toggle only when the number is exactly the PLAY code.
if (results.value == PLAY_KEY)
A “still held” code is a different number, so holding PLAY switches the LED once. A second press of PLAY sends the PLAY code again, so it switches again.
⚠ Watch out
Do not toggle on every code you receive. Then any key switches the LED, and holding a key makes it flicker. Call irrecv.resume() after each code, or you will never hear the next one.
The interactive editor includes the wiring guide, code editor and simulation controls.