Arduino Joystick Controlled Robot Car
Level 29 · Level 29 — Drive With a Joystick · 30 minutes
A thumbstick that never quite rests at the centre drives the Level 9 robot: mix two axes into two wheels, and ignore the wobble.
Preview the project free; a course seat is required to run and submit. No hardware kit needed.
Your project challenge
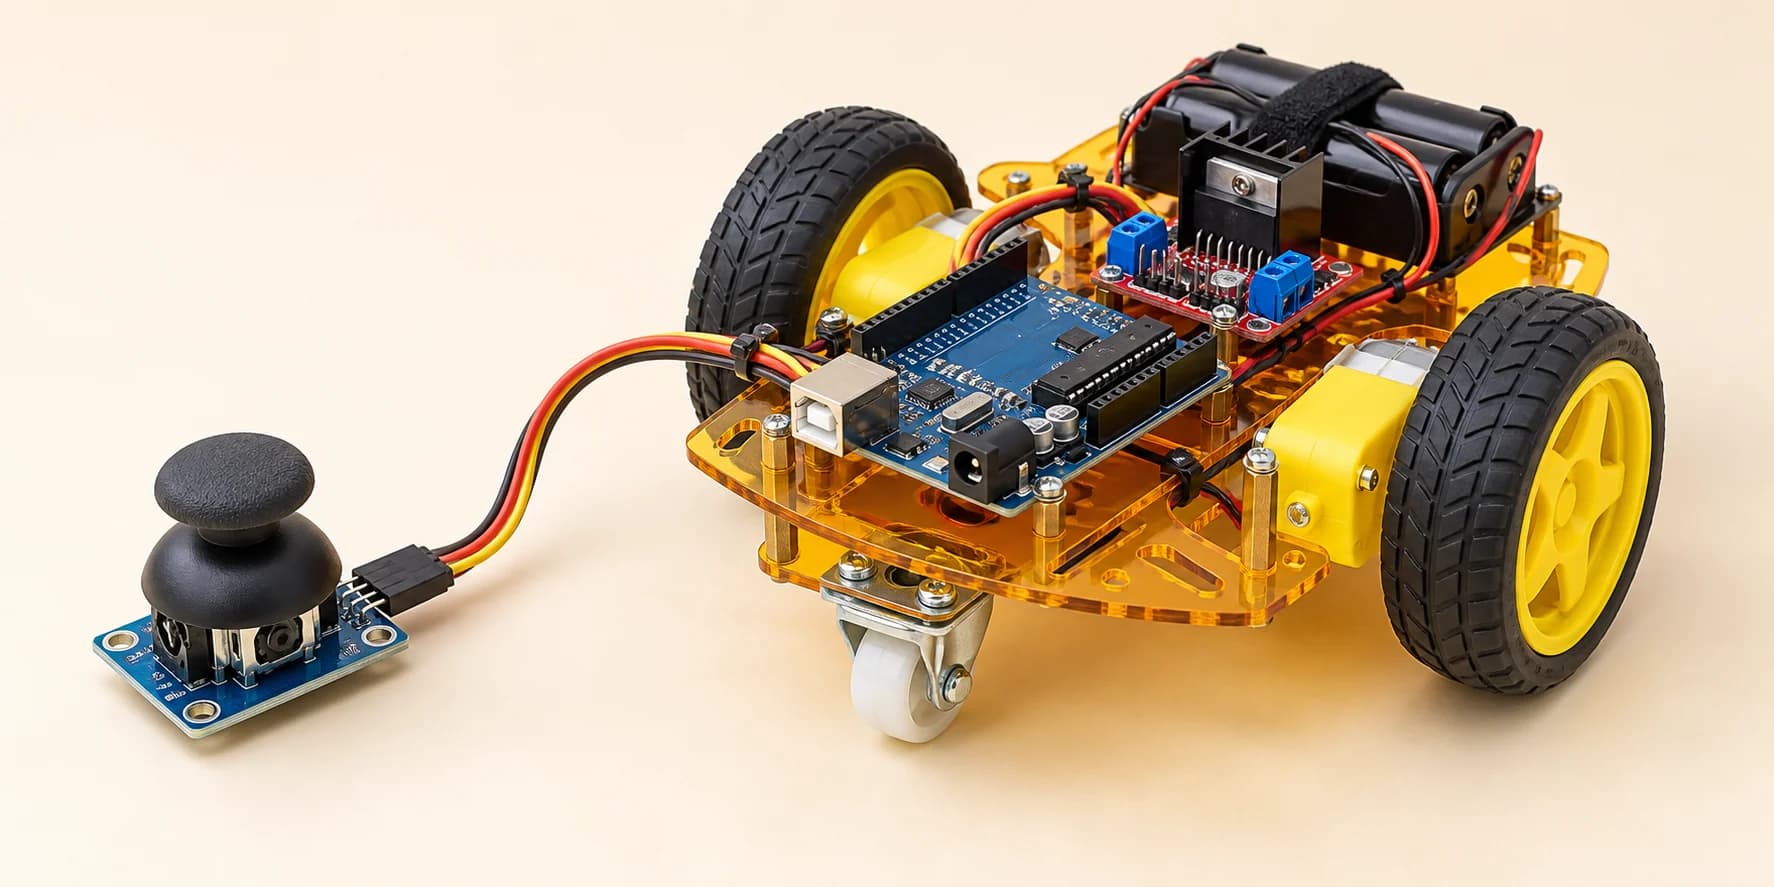
Drag the joystick to drive. Let go, and the robot stops. Add to Level 9's car: - VCC to 5V, GND to GND - VRx to A0, VRy to A1, SW to A2 Left wheel = Y + X, right = Y − X. Ignore offsets under 60 from 512. A click toggles half speed.
Components you’ll use
- Arduino Uno
- L298N Motor Driver
- DC Gear Motor × 2
- Battery
- Joystick (KY-023)
What you’ll build
A robot you drive with a thumbstick. Press Run, then drag the stick and click it.
How it works
- X on A0 is left-right. Y on A1 is up-down. Up and right read higher.
- Offset from the centre:
reading − 512, so −512 to +511. - Mix:
left = y + x,right = y − x. - Scale for
analogWrite:511 × 255 / 512 = 254. Cap at 255. - Clicking the stick (SW, on A2) switches half speed on or off.
The key idea
A released stick never rests at exactly 512. This one rests at X 488 and Y 537. After a push, it can land up to 30 away on each axis.
Treat any offset under 60 as 0.
That band is a dead zone.
⚠ Watch out
- With no dead zone, the robot creeps by itself when you let go.
- Both axes drift. A dead zone on Y alone still creeps.
- Flip half speed as the click goes down, then keep driving. Flip while it is held, and it flips every pass of
loop().
The interactive editor includes the wiring guide, code editor and simulation controls.