Arduino 16x2 LCD Display
Level 17 · Level 17 — Say It · 25 minutes
The first level whose output is not a motion: the robot puts what it senses on a screen.
Preview the project free; a course seat is required to run and submit. No hardware kit needed.
Your project challenge
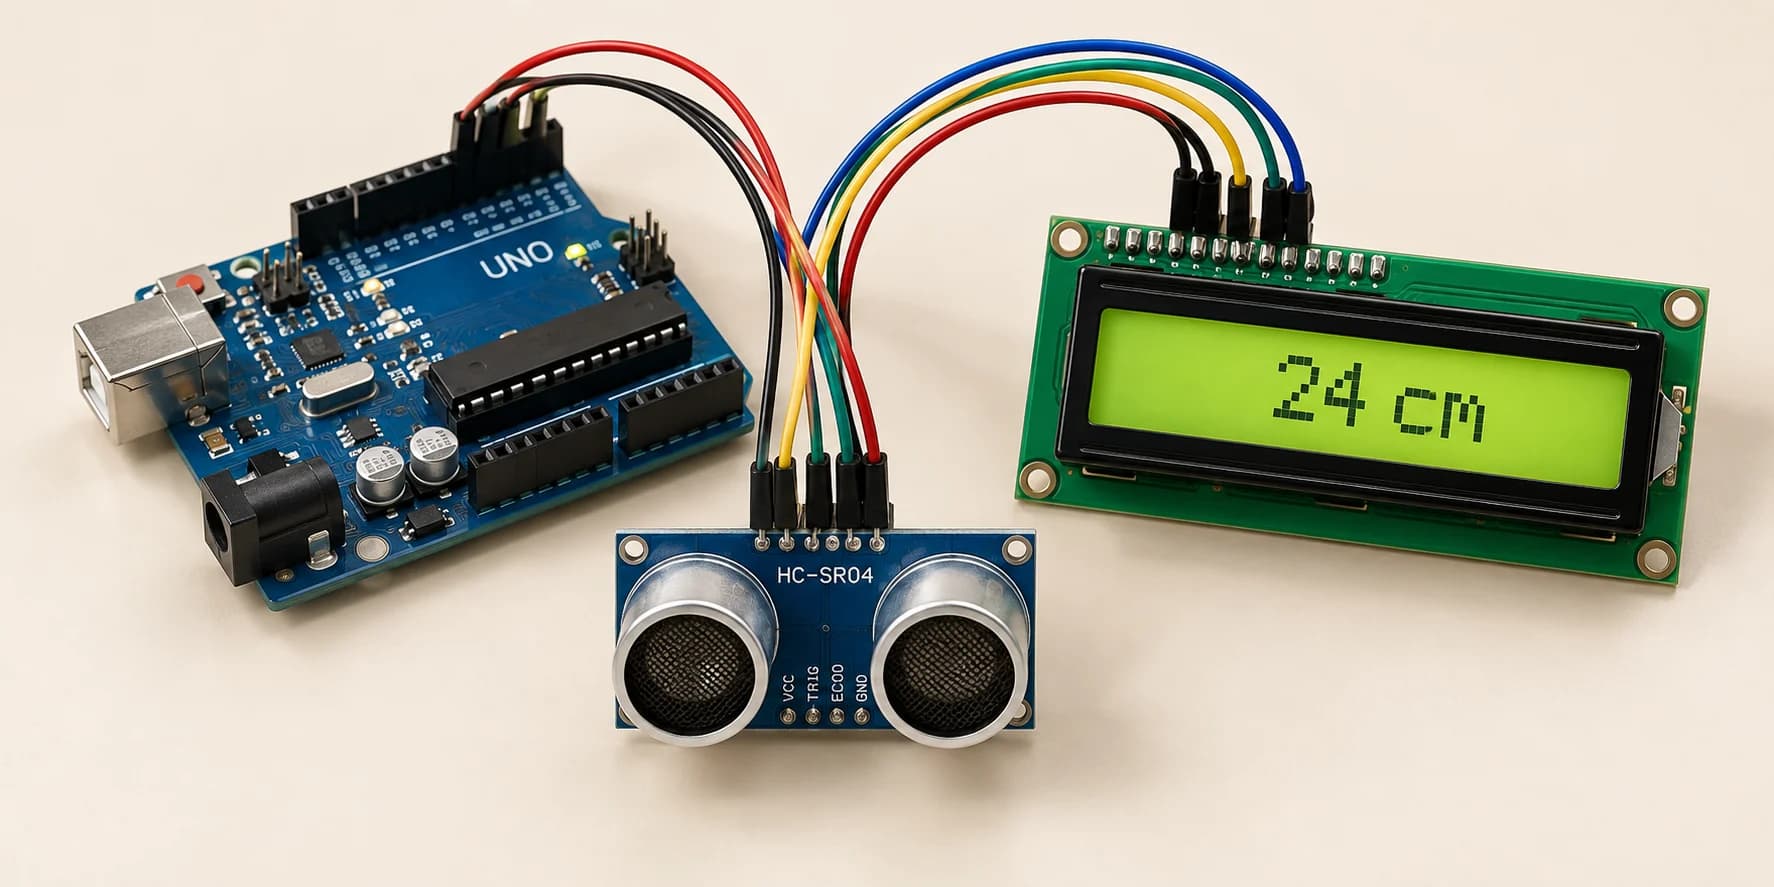
Put the wall's distance on the screen. Wire it up: - LCD: VDD and A to 5V; VSS, K, RW and V0 to GND - LCD signals: RS to D12, E to D11, D4-D7 to D5/D4/D3/D2 - Sonar: VCC to 5V, GND to GND, TRIG to D7, ECHO to D6 Then print Distance on the top row, the number below.
Components you’ll use
- Arduino Uno
- LCD 16x2 Display
- HC-SR04 Ultrasonic Distance Sensor
What you'll build
Sixteen levels, and the robot's only words went to the Serial Monitor on your computer. Now it gets a voice of its own: an LCD, a 16-by-2 character screen. Nothing moves: sixteen wires, and the wall's distance on the glass.
How it works
- RS says: command, or character?
- E is the strobe. Nothing counts until E falls.
- Four data lines, not eight: each byte goes as two halves. You need those four spare pins later.
- The library speaks the protocol. You do the wiring and the message.
The key idea
The library wants BOARD pins — RS, E, then the four data lines. They cross over: LCD D4 to board D5, LCD D7 to board D2.
LiquidCrystal lcd(12, 11, 5, 4, 3, 2);
⚠ Watch out
Blank screen, perfect code? VDD to 5V, VSS and RW to GND. Floating RW, and the panel ignores every byte. V0 is contrast: real glass blanks, this one only warns.
Printing does not erase what it did not cover. Print 100, then 99 over it: the row reads 990. That is why loop() ends in two spaces — a bug you read, not deduce.
The interactive editor includes the wiring guide, code editor and simulation controls.