Arduino NeoPixel Rainbow Ring with Brightness Control
Level 68 · A Thousand Colours · 35 minutes
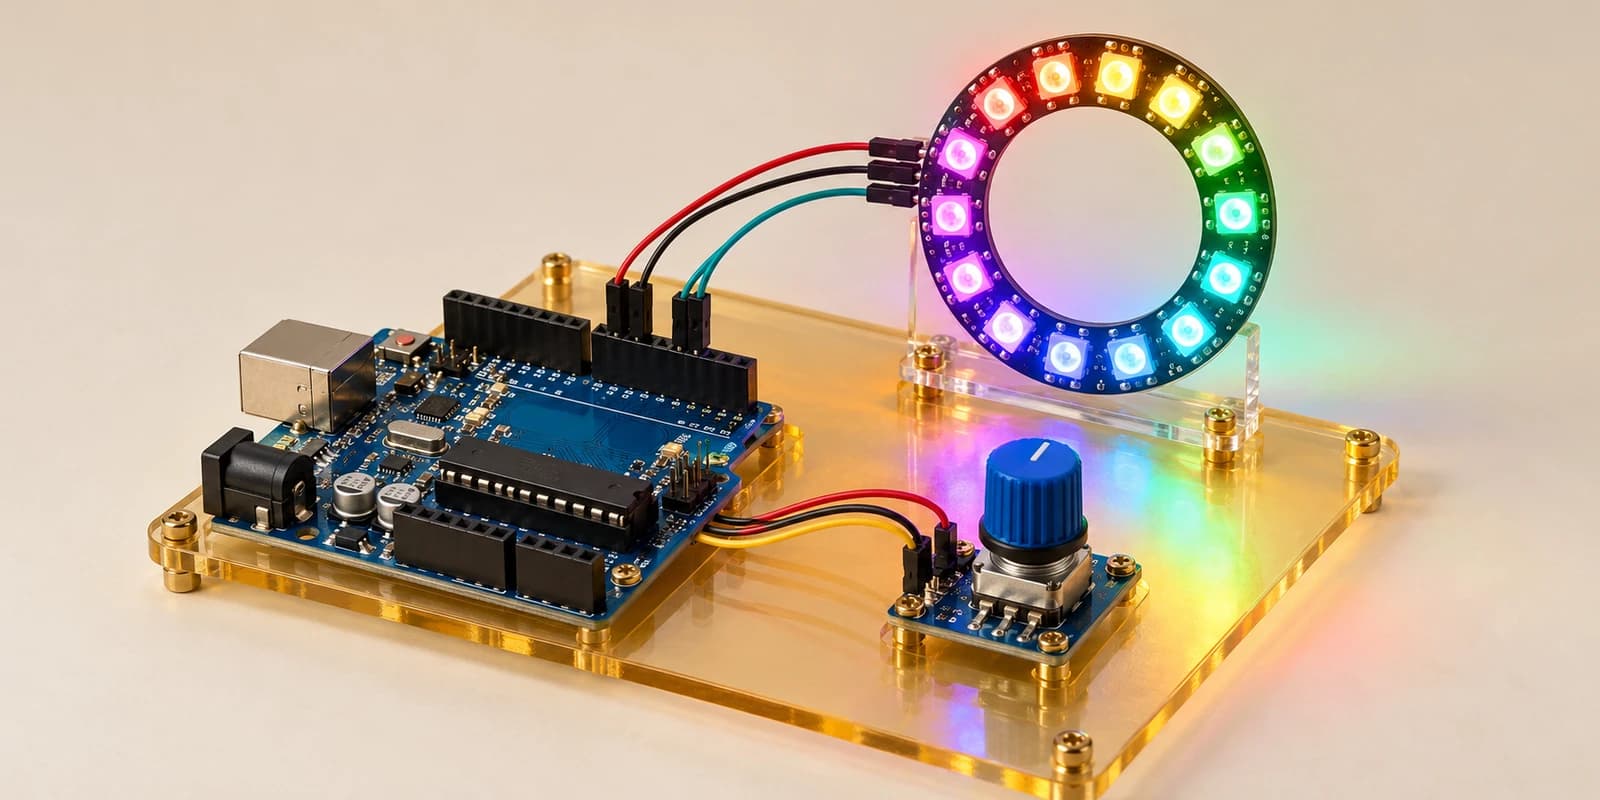
Build a moving rainbow light with sixteen individually addressed LEDs. Turn a knob to change brightness without stopping the colours.
Preview the project free; a course seat is required to run and submit. No hardware kit needed.
Your project challenge
Make a moving rainbow on all sixteen LEDs using the supplied colour wheel. Advance one colour step every 100 ms. Read A0 / 4 for brightness: zero is off, 255 is full. Scale each RGB channel by brightness / 255, then call show(). Keep time moving even when the ring is dark.
Components you’ll use
- Arduino Uno
- NeoPixel Ring (16 LEDs)
- Potentiometer
What you’ll build
A rainbow mood light with sixteen separate RGB LEDs. Start the simulation and turn the brightness knob. The colours keep travelling even when you turn the light off.
How it works
A WS2812 ring uses one data wire. Each LED takes 24 bits for green, red and blue. Adafruit_NeoPixel handles the fast 800 kHz timing; NEO_GRB tells it the byte order. setPixelColor changes the Arduino buffer. show sends it to the ring.
Your code
The supplied wheel blends red to green to blue and back. Space the sixteen LEDs 16 wheel steps apart. Use millis() / 100 for the moving offset. analogRead(A0) / 4 gives brightness from 0 to 255. Multiply each channel by brightness using an unsigned long, then divide by 255.
Try it
Dim the light, turn it completely off, wait, then turn it up. The rainbow should have continued moving. Swap two colour channels in your code to see why GRB and RGB are different.
Real hardware
The simulation does not limit current. A physical ring at full white can exceed USB power: use a suitable regulated 5V supply and common ground, a 300–500 ohm data resistor and a supply capacitor following the NeoPixel guide.
The interactive editor includes the wiring guide, code editor and simulation controls.