Arduino OLED Display with Live Sensor Readout
Level 61 · The Small Screen · 30 minutes
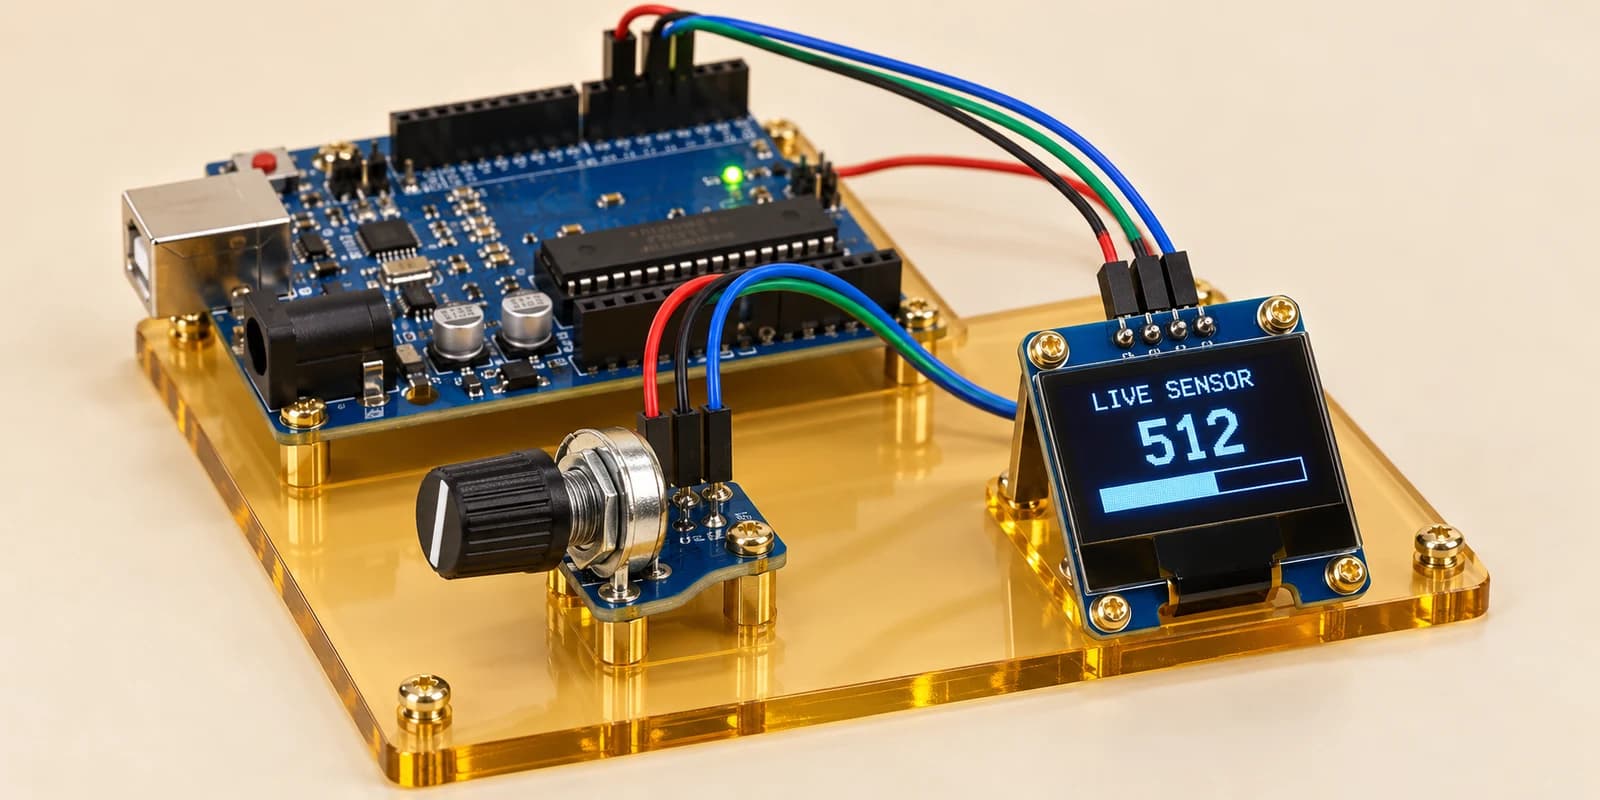
Turn a knob and build a live instrument display: a large sensor number and a bar that grows and shrinks on an OLED.
Preview the project free; a course seat is required to run and submit. No hardware kit needed.
Your project challenge
Turn the knob: show A0 (0–1023) at (0,16), text size 2. Draw an 8-pixel-high bar from (2,46), width map(value,0,1023,0,124). Clear old pixels before redrawing. Call display() after each update, at least five times per second. Keep the standard font.
Components you’ll use
- Arduino Uno
- OLED Display (128×64)
- Potentiometer
What you’ll build
A pocket-sized instrument panel. Wire the knob and OLED, start the simulation, then turn the knob. The big number should change immediately; the bar should grow and shrink with it.
How it works
The knob sends a voltage to A0. analogRead returns 0–1023. Unlike a character LCD, this 128×64 OLED lets you draw individual pixels, shapes and text. Its pixels make their own light.
The key idea
Drawing happens in the Arduino’s memory first. Use clearDisplay to erase that drawing, add your new number and bar, then call display to send it to the screen. Forget the last step and nothing changes.
⚠ Watch out
This module’s address is 0x3C. Use the standard font at size 2 and cursor (0,16). The bar starts at (2,46), is 8 pixels high and has width map(value,0,1023,0,124). Refresh at least every 200 milliseconds. Clearing first removes old digits when a large number becomes small.
Make it yours: decorate the unused space with a title or frame.
The interactive editor includes the wiring guide, code editor and simulation controls.