Arduino Pulse Sensor Project with BPM Display
Level 59 · Feel the Beat · 35 minutes
Read a pulse waveform, blink once per beat and calculate beats per minute on an LCD.
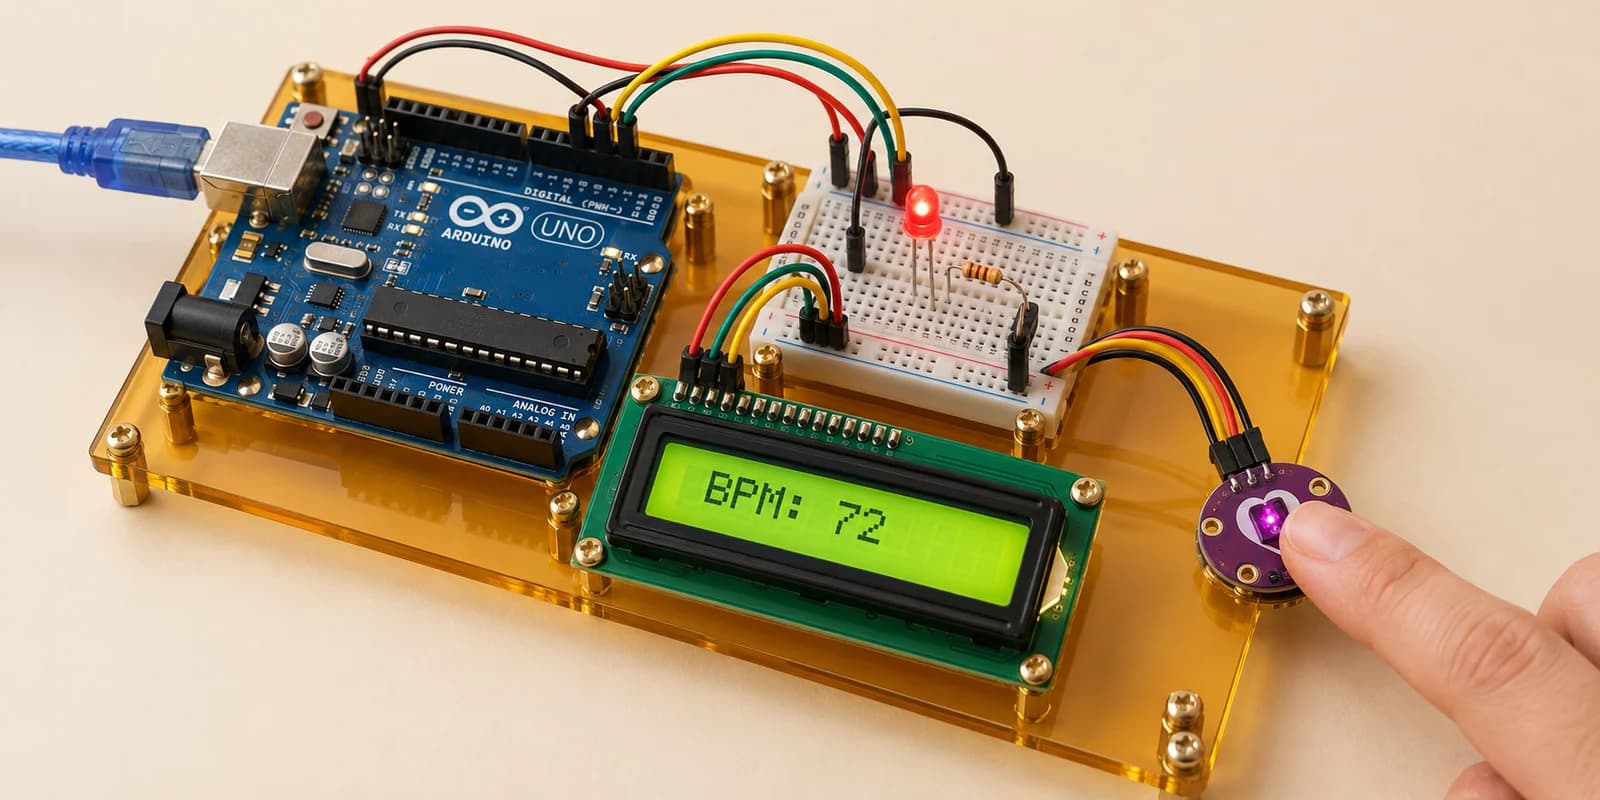
Preview the project free; a course seat is required to run and submit. No hardware kit needed.
Your project challenge
Read the pulse on A0. Blink the LED for 80 ms once per beat. Show BPM on the LCD, averaging four beat intervals. Ignore secondary peaks within 300 ms. With no beats for 2.5 seconds, show Place finger. Allow six seconds for a new rate to settle.
Components you’ll use
- Arduino Uno
- Optical Pulse Sensor
- LCD 16x2 Display
- LED (Light-Emitting Diode)
What you’ll build
A classroom pulse monitor with a red beat light and an LCD. Start the simulation, change the simulated BPM slider and remove or replace the finger with the sensor button. This is a learning project, not a medical device.
How it works
The sensor shines light into skin and measures changes in the reflected light. Its analog output rises and falls. Read A0 often. Our simulated signal includes a smaller second rise so you can practise ignoring it.
The key idea
Notice a rising threshold crossing, then wait at least 300 milliseconds before accepting another beat. Calculate BPM as 60000 divided by the average interval in milliseconds. Average four intervals; allow six seconds after changing the rate.
⚠ Watch out
A high reading is not a new beat on every loop. When no beat arrives for 2.5 seconds, clear the old number and ask for a finger. Noise alone must not count.
Make it yours: print each interval to Serial and compare the readings.
The interactive editor includes the wiring guide, code editor and simulation controls.