Arduino Push Button Input
Level 3 · Level 3 — Input · 25 minutes
A press toggles the lamp; holding it down makes it blink fast.
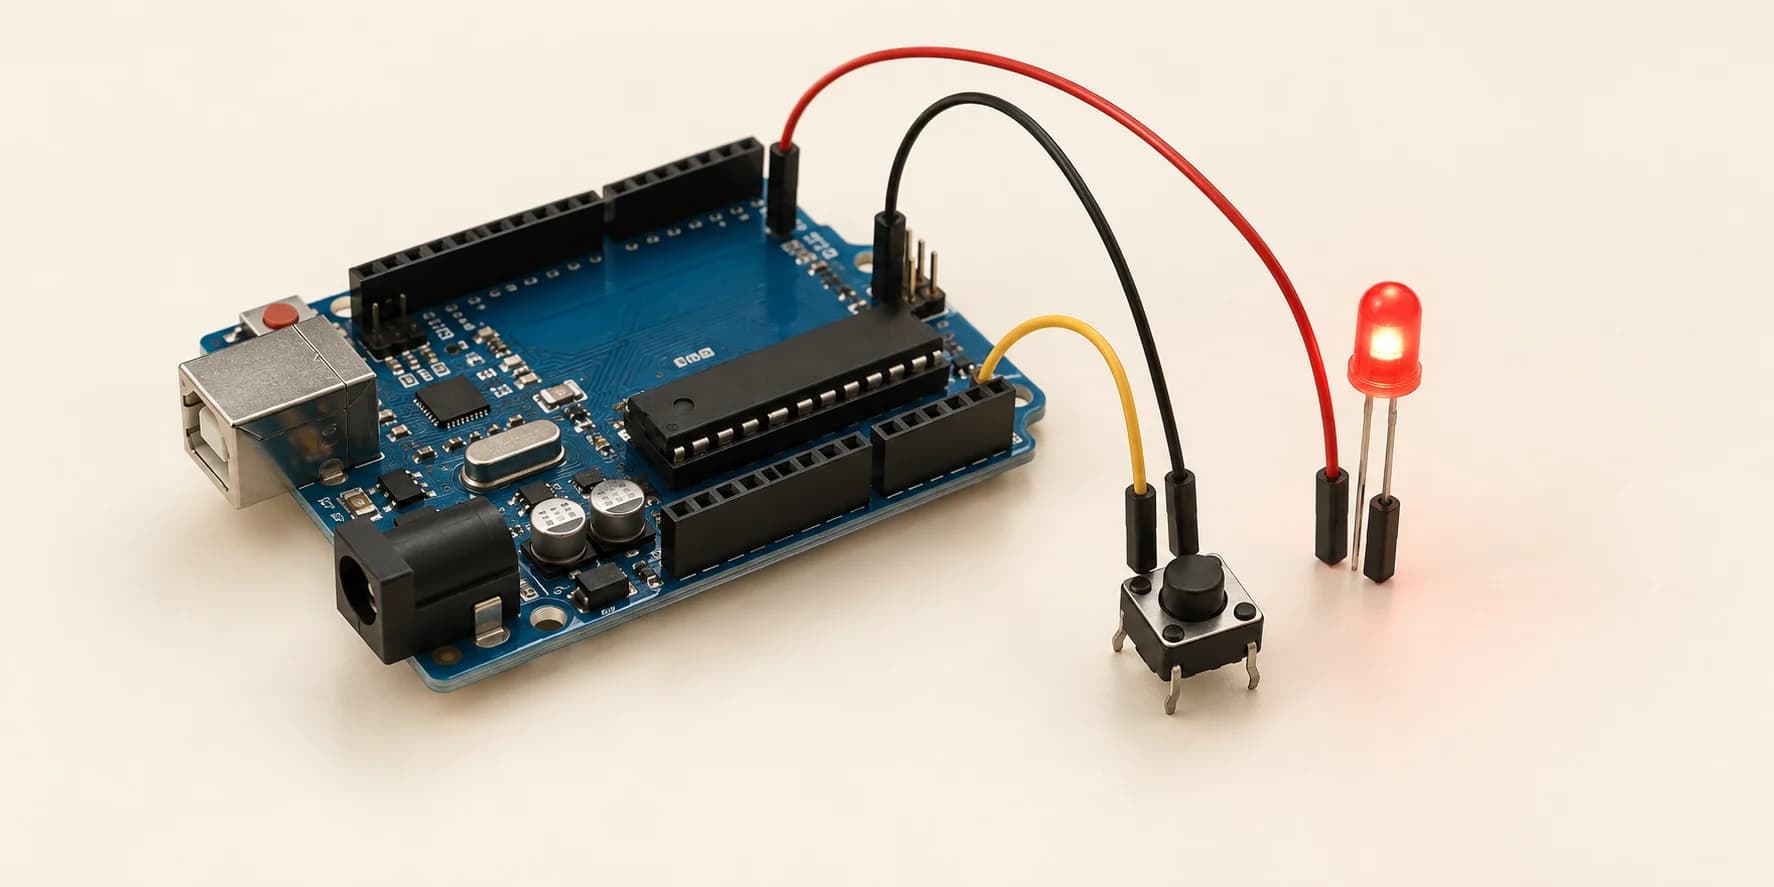
Free to simulate. No hardware kit needed.
Your project challenge
Make one button run one LED. A tap toggles it: off to on, on to off. Wire it up: - LED: anode (long leg) to D13, cathode (short leg) to GND - Button: one leg to D2, the other leg to GND Hold for 600 ms or more and it blinks instead. Then compile and run.
Components you’ll use
- Arduino Uno
- LED (Light-Emitting Diode)
- Pushbutton
What you'll build
So far your board has only ever told you things. Now you make it listen.
A button on D2 runs an LED on D13.
How it works
- D2 is set to
INPUT_PULLUP: with the button resting, it reads HIGH. - The button's other leg goes to GND, so pressing drags D2 LOW. Backwards from what most people guess.
- An edge is the moment D2 changes. One press makes two: down, then up.
The key idea
Pushing down starts a clock. Letting go reads it.
Under 600 ms = tap. 600 ms or more = hold.
A tap toggles the LED as you let go: on if it was off, off if it was on. From 600 ms a hold flips it every 100 ms while D2 stays LOW, then leaves it off, never on.
Edges are why a tap toggles the LED exactly once, on release, instead of racing while your finger rests on the button.
⚠ Watch out
Forget the button's wire to D2. A bare D2 reads LOW here, not HIGH, so the sketch thinks the button is held: the LED blinks by itself and no press stops it.
The interactive editor includes the wiring guide, code editor and simulation controls.