Arduino RGB LED Colour Mixing
Level 21 · Level 21 — Colour · 25 minutes
Three channels, three duty cycles, and every colour in between.
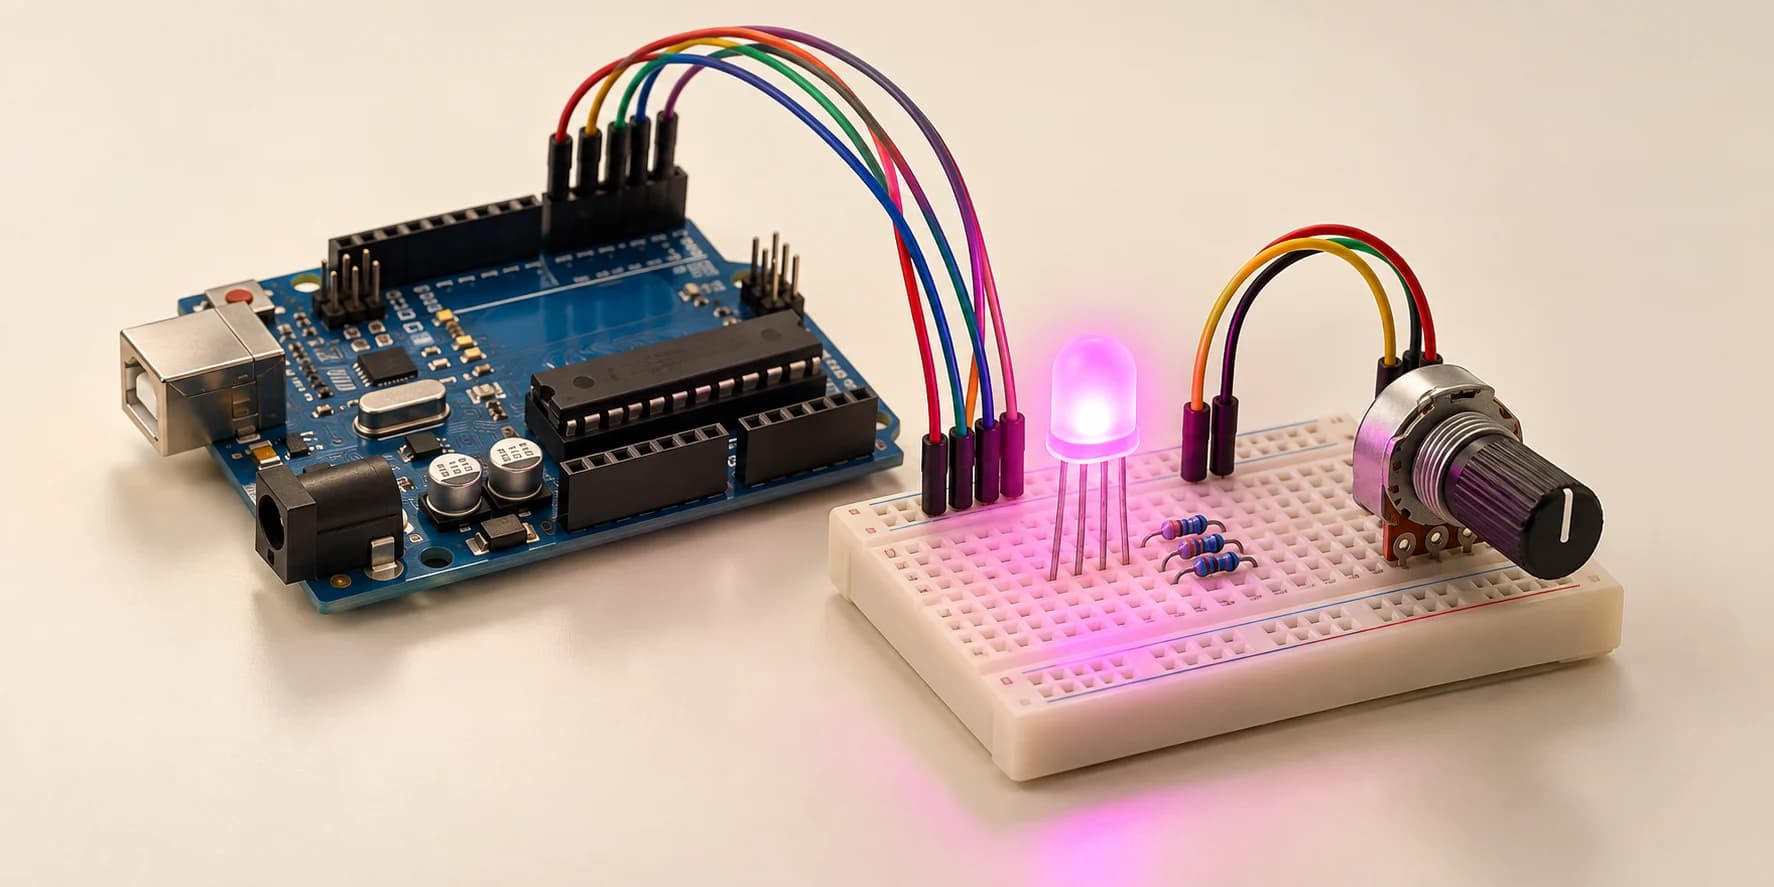
Preview the project free; a course seat is required to run and submit. No hardware kit needed.
Your project challenge
Make the knob crossfade one LED from red to green to blue. Wire it up: - RGB LED: long common leg to GND, red to D9, green to D10, blue to D11 - Potentiometer: terminal1 to 5V, terminal2 to GND, wiper to A0 Each channel takes 0-255. A quarter turn must be a real mix of two channels, not a jump.
Components you’ll use
- Arduino Uno
- RGB LED (common cathode)
- Potentiometer
What you'll build
A knob that fades one light from red, through green, to blue. Between red and green, both are lit at once.
How it works
- An RGB LED is not clever. It is three ordinary LEDs behind one lens.
- Red D9, green D10, blue D11 — all PWM pins.
- Each die is chopped on and off about 490 times a second. Your eye blends them.
The key idea
A colour is three duty cycles — how much of the time each die is lit. The ratio is the colour. The size is only brightness.
128,128,0 and 255,255,0 are the same yellow, one dim, one bright.
knob 0–1023 → 0–255 per channel
analogWrite() only chops the pins marked ~ (3, 5, 6, 9, 10, 11). The mixing lives in the chopping.
⚠ Watch out
The common leg is a CATHODE. It goes to GND. It is the longest leg, which on an ordinary LED means positive. Wire it to 5V and everything stays dark while your code runs perfectly.
The quiet mistake: switching instead of mixing. The light snaps from red to green with nothing in between, and only a quarter turn catches it.
The interactive editor includes the wiring guide, code editor and simulation controls.