Arduino 7-Segment Display
Level 18 · Level 18 — One Digit · 25 minutes
Seven bars and a lookup table: a digit is a pattern you choose, not a number the hardware knows.
Preview the project free; a course seat is required to run and submit. No hardware kit needed.
Your project challenge
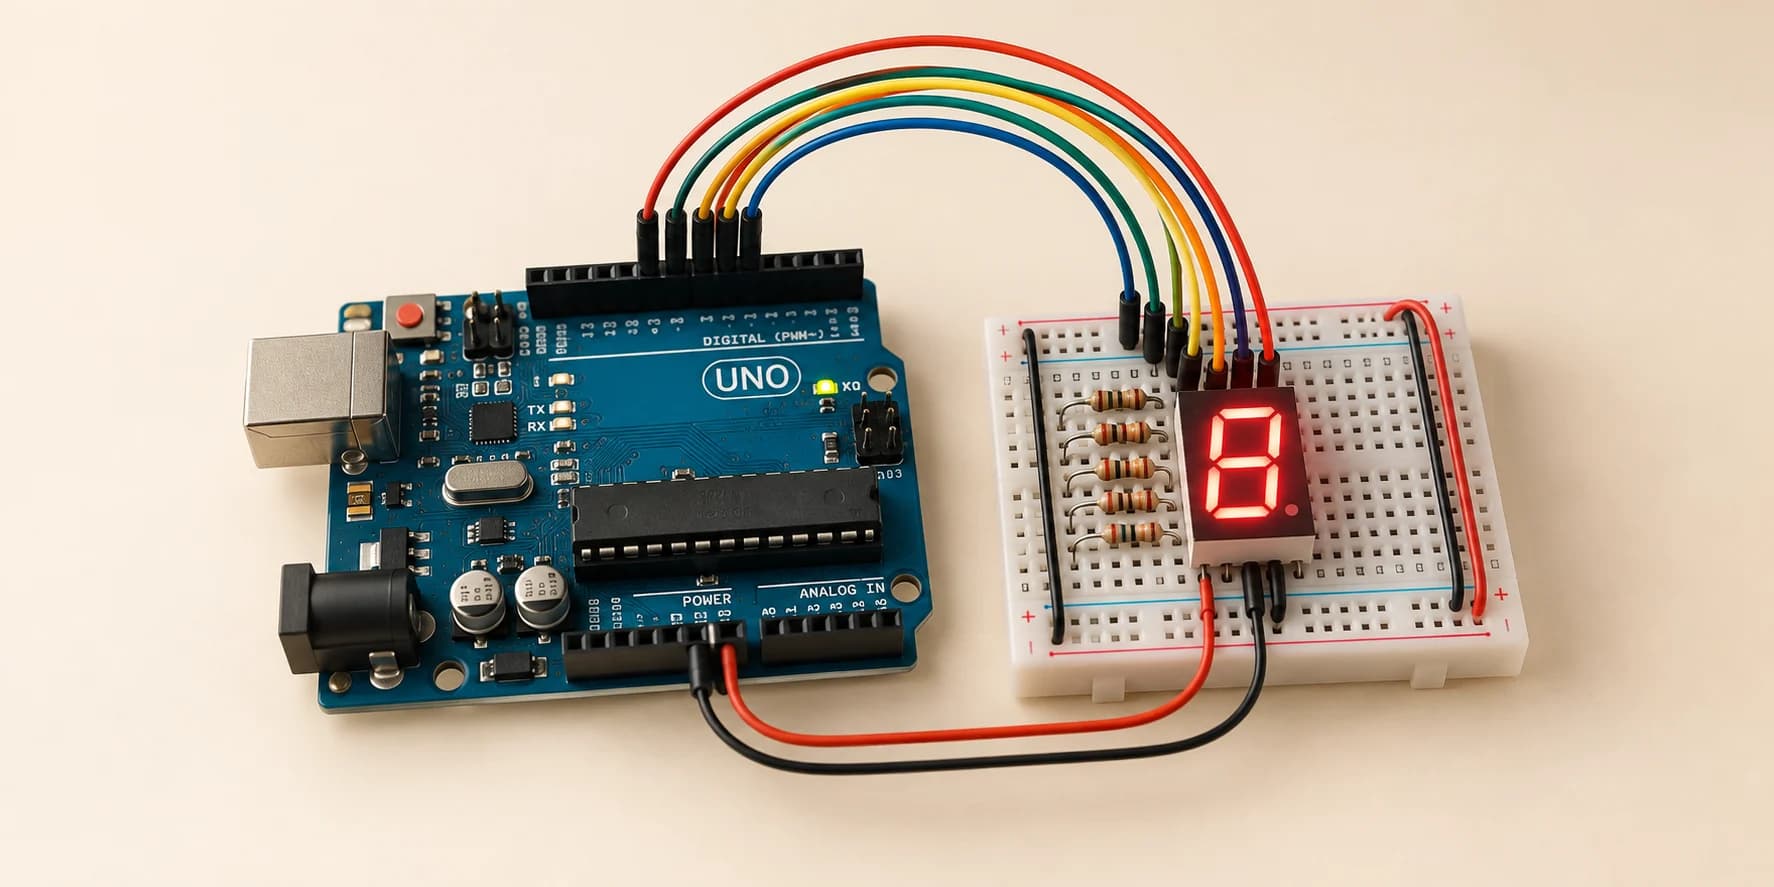
Light the bars that spell a 5. Wire it up: - Common cathode to GND (do this one first) - Segments a to g to D2 through D8, in order - Decimal point dp to D9 Then run it and read row 5 of the table: a, c, d, f and g.
Components you’ll use
- Arduino Uno
- 7-Segment Display (1 digit)
What you'll build
The digit 5, held still and drawn bar by bar. Last level's screen knew what letters were. This one knows nothing about numbers.
How it works
- A seven-segment display is not a screen. Seven bars and a dot.
- Each bar is one LED on its own pin. There is no "show a 5" wire.
- A 5 is whichever bars you decide a 5 is made of.
- You write that decision down: one row per digit.
- Every clock and till receipt runs on a table someone once typed out.
The key idea
The bars that spell a 5:
5 = a + c + d + f + g
b, e and the dot stay dark. Pins, in order:
a=D2 b=D3 c=D4 d=D5 e=D6 f=D7 g=D8 dp=D9
Swap b for f and c for e, and your 5 is a 2. The display draws what you asked for and never complains.
⚠ Watch out
Almost everyone forgets the common cathode. All eight LEDs return through that one pin. Until it reaches GND nothing lights, however hard you drive the segments. From outside: a dead display under perfect code.
The interactive editor includes the wiring guide, code editor and simulation controls.