Arduino DHT11 Temperature and Humidity Sensor
Level 22 · Level 22 — How Warm · 25 minutes
A sensor with a protocol of its own: the sketch asks, waits, and turns what comes back into degrees.
Preview the project free; a course seat is required to run and submit. No hardware kit needed.
Your project challenge
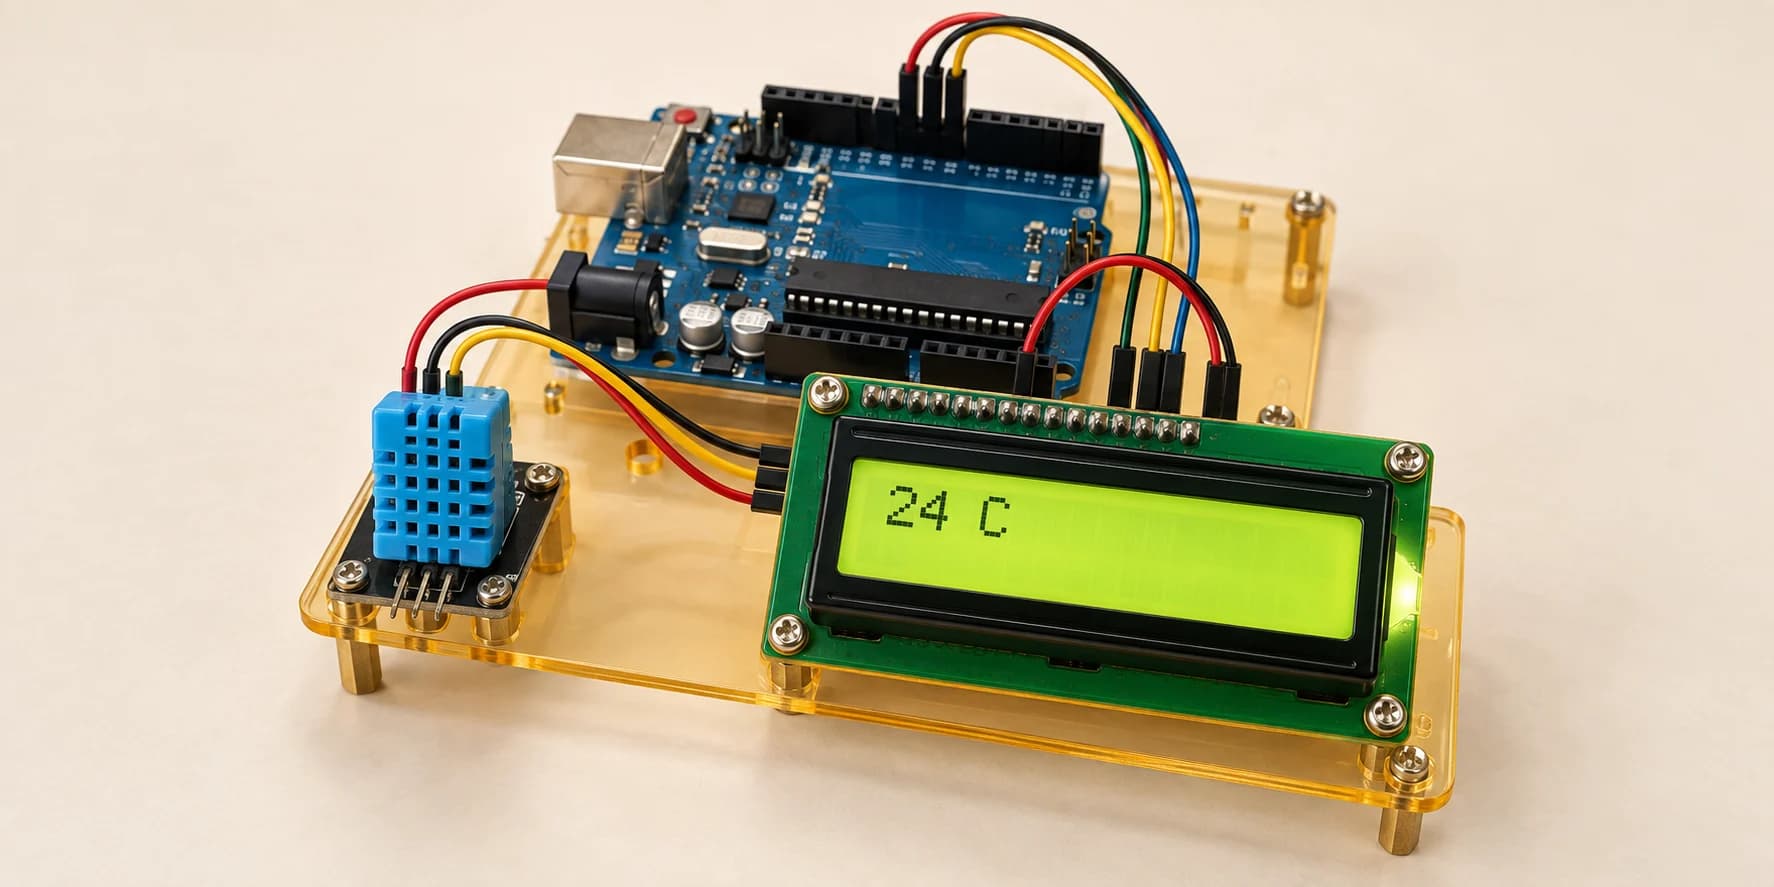
Show the room temperature on the LCD. Wire it up: - LCD: RS D12, E D11, D4-D7 to D5, D4, D3, D2 - LCD: RW and V0 to GND, or nothing shows - DHT11: VCC to 5V, GND to GND, DATA to D7 Top row: Temperature. Below: degrees C, then F. Keep asking. The room does not stay still.
Components you’ll use
- Arduino Uno
- LCD 16x2 Display
- DHT11 Temperature & Humidity Sensor
What you'll build
The room temperature on a screen, in Celsius and Fahrenheit, live.
How it works
- The sonar handed you a pulse to time. This sensor says nothing until you ask.
- Asking is a conversation on one wire. Hold DATA low for at least 18 milliseconds (the sketch uses 20), then let go.
- First the sensor answers 80 microseconds low, then 80 high. No data in it. Throw it away, or every bit lands one place late.
- A bit is not a voltage. Pulse LENGTH is the bit: about 27 microseconds is 0, about 70 is 1. There is no pin to read. There is only time to measure, forty times.
The key idea
Whole numbers divide into whole numbers. The rest is thrown away. At 31C:
31 * 9 = 279279 / 5 = 55, not 55.855 + 32 = 87
Expect 87, not 88. Multiply before you divide, or 31 / 5 is 6 and 6 * 9 + 32 prints 86.
⚠ Watch out
The room starts at 20C and warms to 31C. Read once and your screen keeps showing 20. Nothing looks wrong. Ask again inside loop().
The interactive editor includes the wiring guide, code editor and simulation controls.