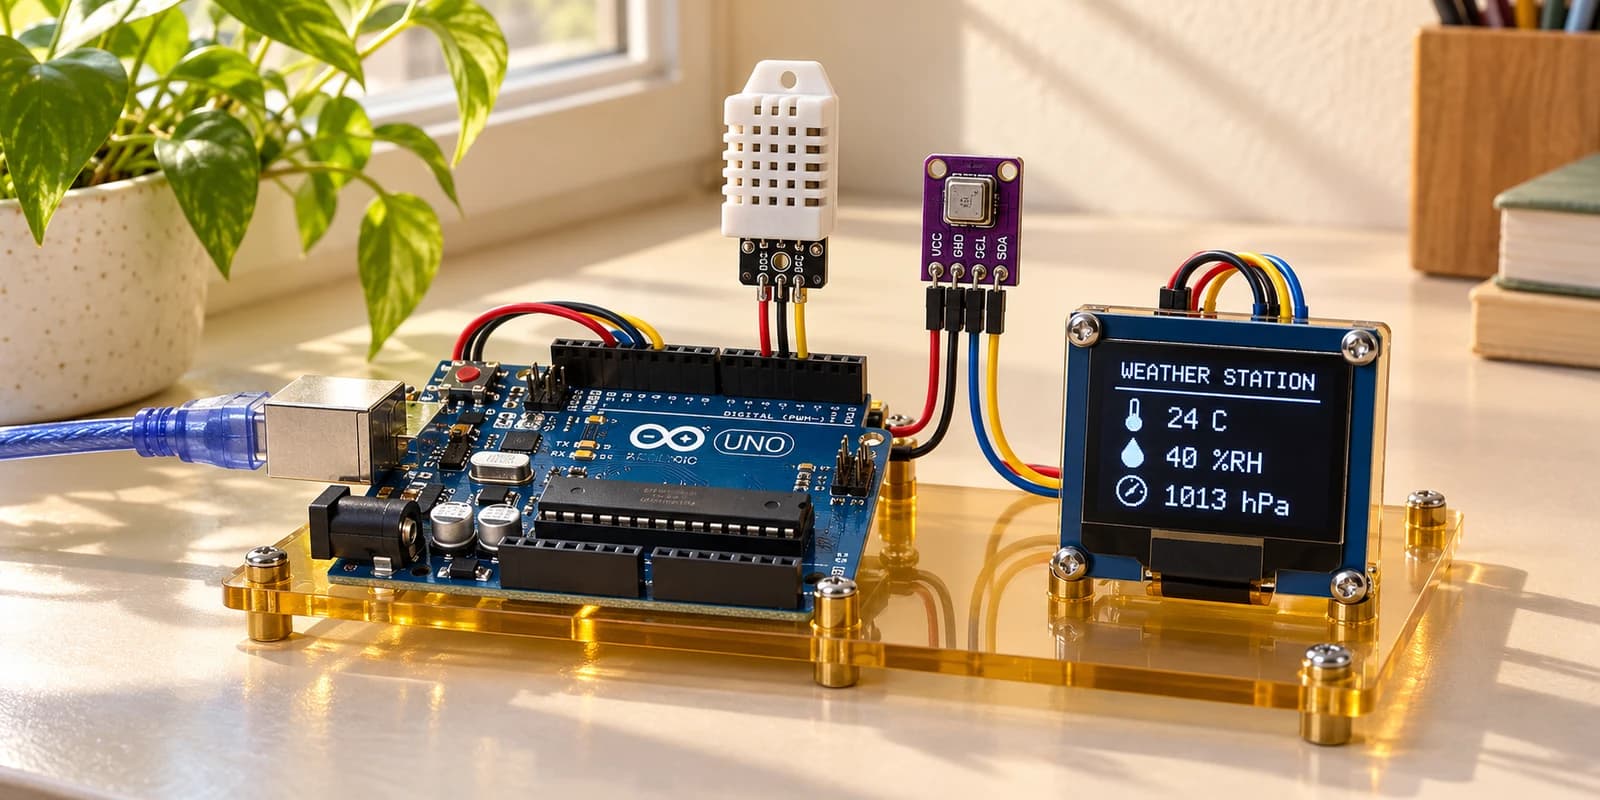
Arduino Weather Station with DHT22, BMP280 and OLED
Level 65 · Weather Station · 35 minutes
Build a live weather display: measure temperature, humidity and atmospheric pressure using two different sensor protocols.
Preview the project free; a course seat is required to run and submit. No hardware kit needed.
Your project challenge
Read DHT22 temperature and humidity on D2, and BMP280 pressure at 0x76. Show rounded values at (0,16), (0,32), (0,48), standard font size 1. Divide pressure by 100 for hPa. Clear and refresh the OLED at 0x3C. Wait at least two seconds between DHT22 readings.
Components you’ll use
- Arduino Uno
- DHT22 Temperature & Humidity
- BMP280 Pressure Sensor
- OLED Display (128×64)
What you’ll build
A weather station with three readings. Follow the eleven wiring steps, start the simulation, then change the temperature, humidity and pressure sliders above the sensors. Allow about two seconds for each update.
How it works
The DHT22 uses one data wire on D2. It reports temperature and relative humidity. The BMP280 and OLED share I²C on A4/A5, at addresses 0x76 and 0x3C. The BMP280 library uses factory calibration to convert raw readings into pressure.
The key idea
Different sensors use different protocols and units. readPressure gives pascals; divide by 100 for hectopascals. Round readings to whole numbers for this display. Negative temperatures must keep their minus sign.
Watch out
Select DHT22, not DHT11. Wait at least two seconds between reads. The pressure module requires 3V3. Clear old digits before drawing smaller values, and call display. These controls represent local conditions; the lesson does not forecast weather.
The interactive editor includes the wiring guide, code editor and simulation controls.