Arduino Two-Wheel Robot Car
Level 9 · Level 9 — Two Wheels · 40 minutes
A robot that steers with no steering mechanism at all — just two wheels disagreeing.
Preview the project free; a course seat is required to run and submit. No hardware kit needed.
Your project challenge
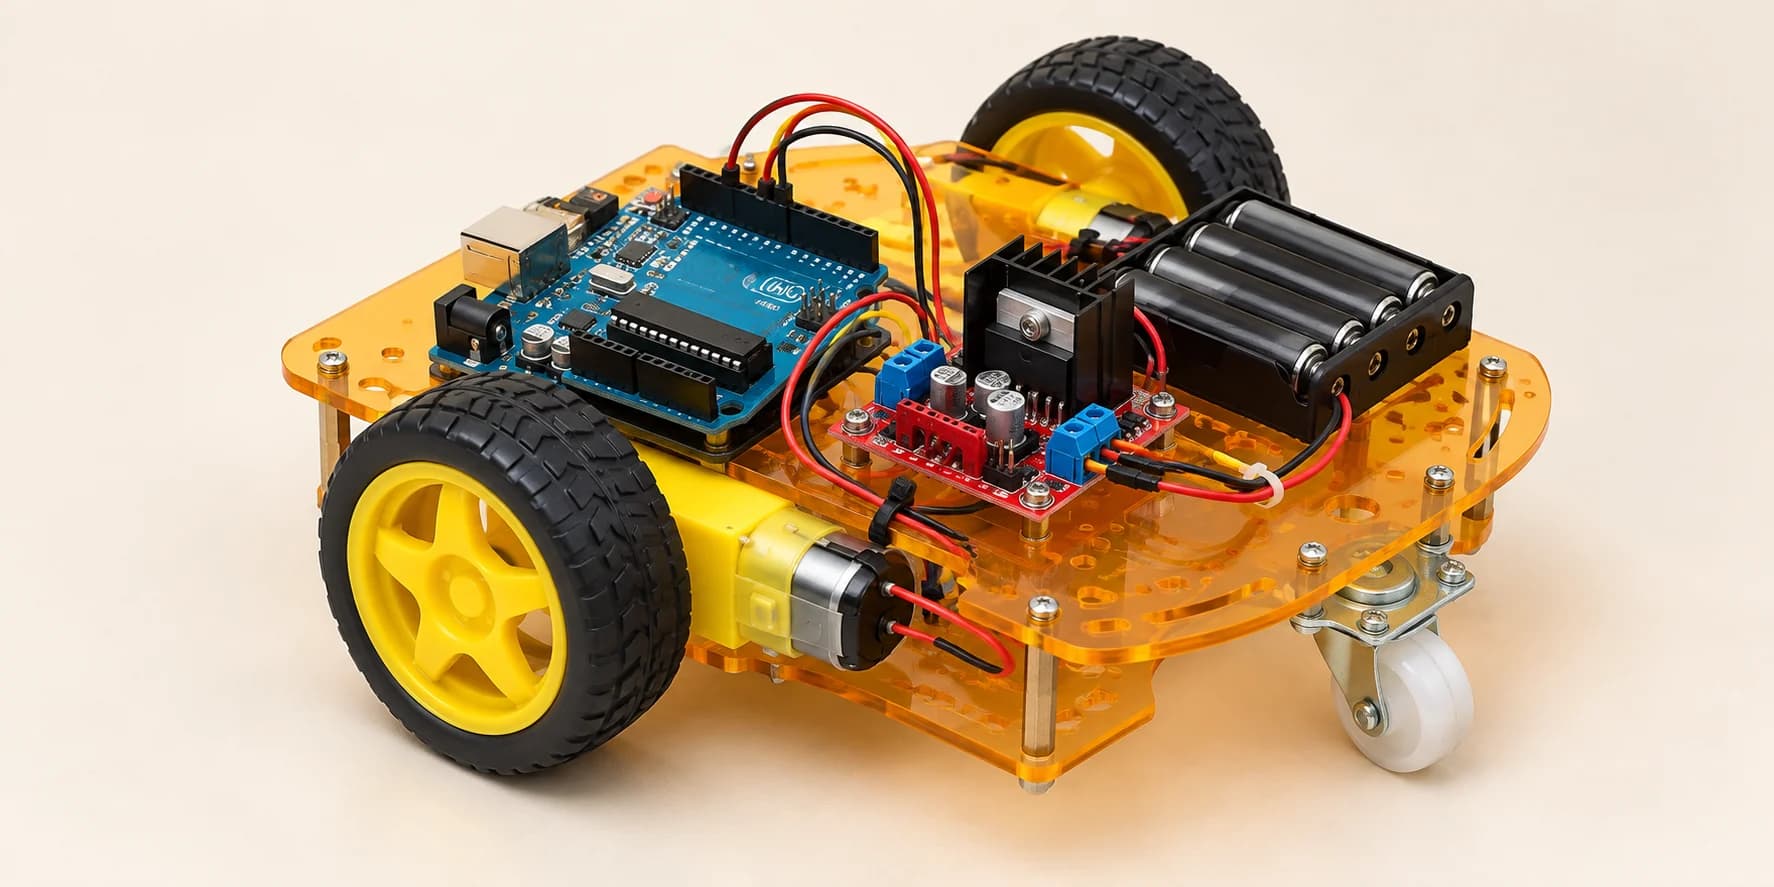
Build the two-wheeled robot. Wire the six pins in the driver's own order: - ENA IN1 IN2 to D11 D10 D9 - IN3 IN4 ENB to D8 D7 D6 - Driver GND to Arduino GND - Battery + to VS, − to driver GND - Motors: OUT1/OUT2 left, OUT3/OUT4 right The sketch already drives it: straight, spin, reverse, stop.
Components you’ll use
- Arduino Uno
- L298N Motor Driver
- DC Gear Motor × 2
- Battery
What you'll build
A robot with two wheels: straight, spin, reverse, stop. 4 × 1000 ms = 4 seconds.
Where does the steering wheel go?
Nowhere. The second motor is already on the bench. Wire it to the driver's other channel and drive each wheel separately. Steering comes free:
- Both forward — straight ahead.
- Left forward, right backwards — it spins on the spot.
- Both backwards — it reverses.
Nothing here changes speed: both enables stay HIGH, full power. That is differential drive — just two wheels disagreeing, by direction now, by speed later.
Wire it in the driver's order
The L298N holds two H-bridges, one per motor: ENA/IN1/IN2 left, IN3/IN4/ENB right.
ENA IN1 IN2 IN3 IN4 ENB → D11 D10 D9 D8 D7 D6
Counting down from 11: no jumper crosses.
The key idea
The difference between the wheels is the steering. You already drove one motor; this is that knowledge twice.
⚠ Watch out
A wheel spinning backwards when you wanted forward? Either of that wheel's pairs is swapped:
- Right wheel: OUT3/OUT4, or IN3/IN4 on D8/D7.
- Left wheel: OUT1/OUT2, or IN1/IN2 on D10/D9.
The failing check names it: motorL or motorR. The classic first-robot mistake.
The interactive editor includes the wiring guide, code editor and simulation controls.